

 By
By The first time you look into DIY home automation, it can feel like you need dozens of smart devices, complicated wiring, and a technical background.
You don’t.
The easiest way to start is to think about one annoying task you would like your home to handle automatically. Maybe it’s turning the hallway light on when you walk in. Maybe you want your thermostat adjusted while you’re away. Or perhaps you’d like your doors to lock automatically at night.
That’s what DIY home automation is really about: building simple systems yourself that solve everyday problems.
What Is DIY Home Automation?
DIY home automation means setting up and configuring smart-home devices yourself rather than paying someone to design and install the entire system.
A typical setup might include:
For example: Motion detected → Controller checks the rule → Hallway light turns on You choose the devices, connect them, create the automation, and adjust it as your needs change.
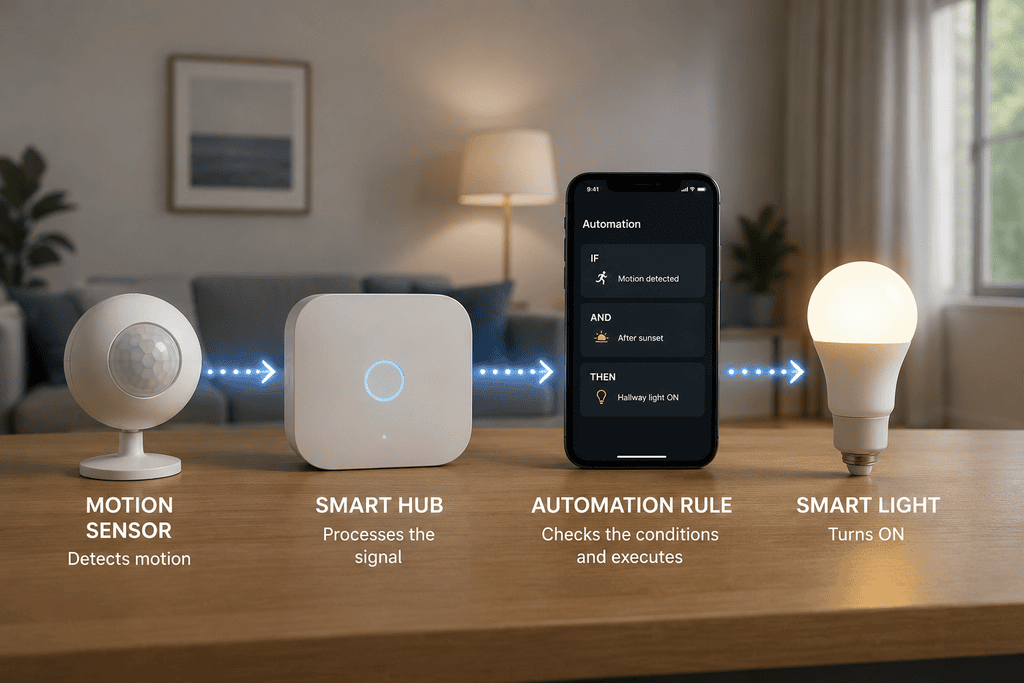
Caption: A basic DIY automation connects a trigger to a rule and an action.
What Do You Need to Get Started?
You don’t need everything at once. A simple beginner setup could include:
1. A Smart Device
Start with something useful, such as:
- Smart bulb
- Smart plug
- Smart thermostat
- Smart lock
2. A Trigger
This tells the system when something happens:
- Motion
- Time
- Door opening
- Temperature
- Your arrival or departure
3. A Controller or Smart-Home Platform
This is where your automation rules live. Depending on your setup, it could be a smart-home ecosystem, hub, or platform such as Home Assistant. Home Assistant supports integrations and automation across a large range of smart-home devices. Home Assistant
4. A Reliable Network
Your Wi-Fi or other smart-home network is an important part of the setup. Before buying devices, check which connection technologies they require.
Start With One Automation
This is the advice I’d give every beginner:
Don’t automate the whole house on day one.
Start with one small problem.
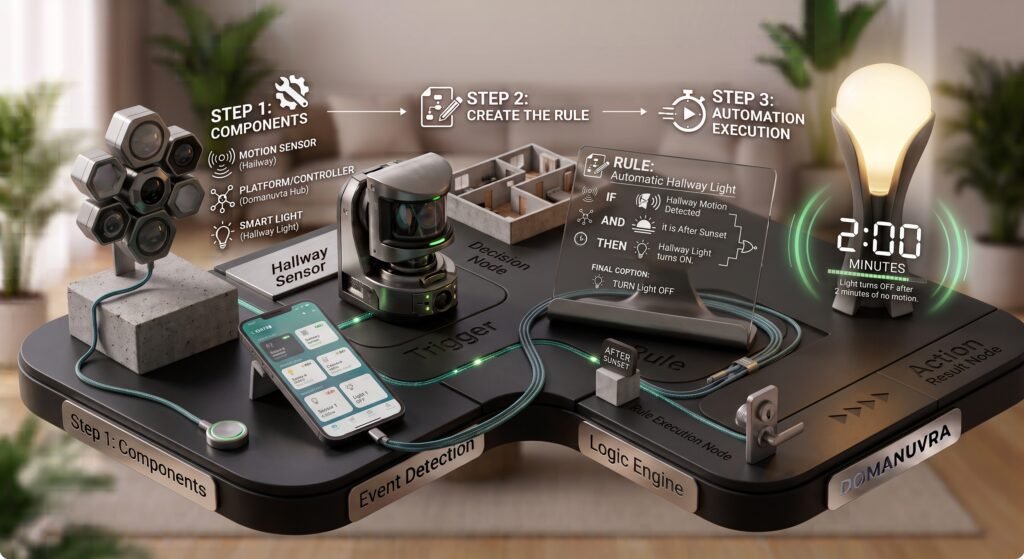
Example: Automatic Hallway Light
You need:
- Motion sensor
- Smart light
- Compatible controller/platform
Create this rule:
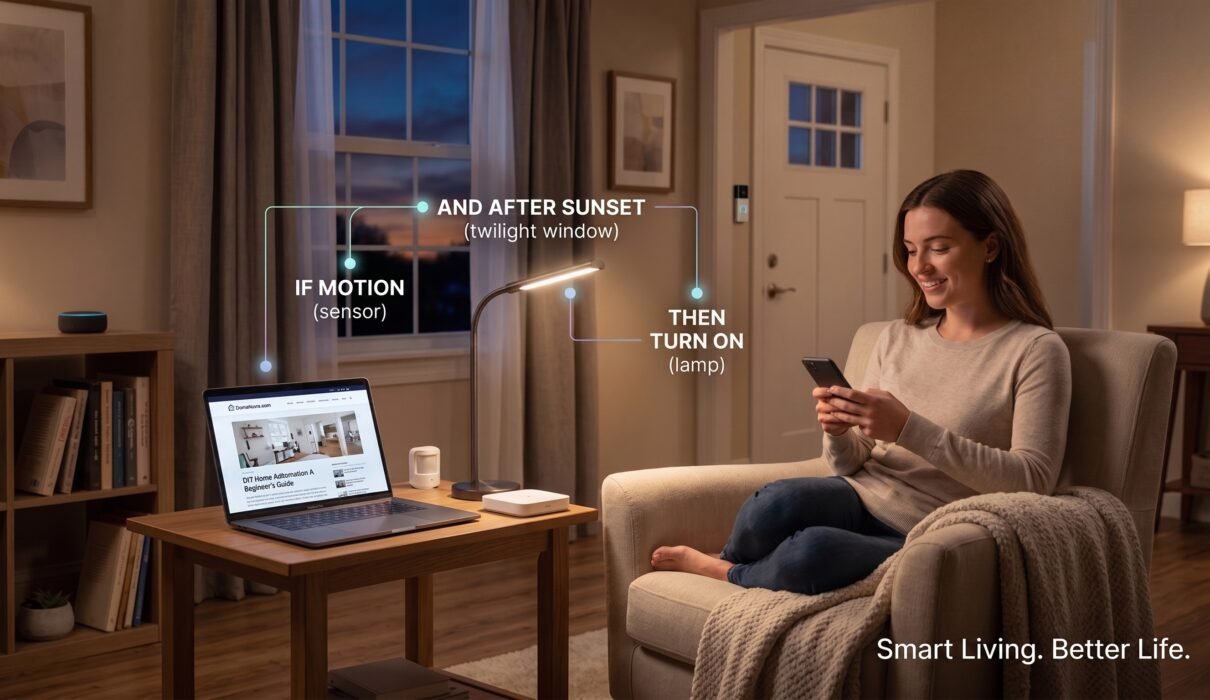
IF motion is detected
AND it is after sunset
THEN turn the hallway light on.
Then add: Turn the light off after 2 minutes. That’s a complete DIY automation and now you understand the basic idea.
7 DIY Home Automation Ideas You’ll Actually Use
1. Motion-Activated Lights
Turn lights on automatically when someone enters a room. Great for: Hallways, stairs, bathrooms.
2. Smart “Good Morning” Routine
At a chosen time: Lights on → thermostat adjusts → selected devices turn on You can then expand the routine as you learn.
3. Automatic Away Mode
When everyone leaves: Lights off → thermostat adjusts → selected devices switch off
4. Bedtime Routine
At night: Lights dim → doors lock → selected devices turn off
5. Smart Security Alerts
A door or motion sensor can trigger a notification when you’re away.
6. Energy-Saving Automation
Use schedules or sensors to switch devices off when they’re not needed.
7. Sunrise and Sunset Automations
Instead of using a fixed time, let your system react to changing daylight.
How Much Does DIY Home Automation Cost?
Building a smart home doesn’t require a massive upfront investment. You can start with a budget under $50, test what works for your routine, and scale up over time.
| Automation Tier | Estimated Cost | What You Get |
|---|---|---|
| 🌱 Starter Level | $30 – $60 |
|
| 🏠 Single Room | $150 – $350 |
|
| ⚡ Whole-Home | $400 – $1,000 |
|
The “Start Small” Strategy
The biggest financial mistake beginners make is buying a box full of devices before understanding how they work together.
- Step 1: Start — Automate a single pain point, like turning on a lamp automatically at sunset using a smart plug.
- Step 2: Test — Learn whether your household prefers voice control, app control, or automated motion sensors.
- Step 3: Learn — Discover which protocols (Wi-Fi, Zigbee, Z-Wave, or Matter) match your reliability needs.
- Step 4: Expand — Slowly add high-value gear like smart thermostats or door locks only after your foundation is solid.
Wi-Fi, Zigbee, Z-Wave, or Thread?
This is where beginners can get overwhelmed. You don’t need to master every protocol before starting, but you do need to check compatibility.
Wi-Fi
Common and familiar
Zigbee
Low-power smart-home networking
Z-Wave
Smart-home-focused wireless networking
Thread
Low-power IP-based mesh networking
Matter is another important technology to understand because it is designed to improve interoperability among compatible smart-home devices. The key lesson:
Check compatibility before buying.
Don’t assume two products will work together simply because both are advertised as “smart.”
Do You Need a Home Automation Controller?
Not necessarily.
If you’re using a few devices from one ecosystem, the platform you already have may be enough. But a dedicated controller or more advanced platform becomes attractive when you want:
- Multiple brands
- Complex rules
- More customization
- Local automation
- Centralized control For a deeper explanation, see our guide: 👉 Home Automation Controller
Common DIY Mistakes
This is probably the easiest mistake to make. Always verify if a device requires a specific hub, app, or protocol before buying.
More automation doesn’t automatically mean a better smart home. Start with one routine, test it, and expand gradually.
Check which features can continue working locally so your lights and switches don’t fail during an internet outage.
A cheap device isn’t a bargain if it doesn’t work with the system you want or loses connectivity constantly.
Every automation should solve a real problem rather than creating extra steps or confusion for family members.
A Simple DIY Starter Plan
Here’s how I’d approach a first setup:
- Step 1 Choose one room or one problem.
- Step 2 Buy one or two compatible devices.
- Step 3 Set up your smart-home platform.
- Step 4 Create one automation.
- Step 5 Use it for a week.
- Step 6 Only then decide what to add.
This approach gives you a chance to learn the system without turning your home into a troubleshooting project.
DIY Home Automation Checklist
Before buying your next device, ask:
📋 DIY Home Automation Pre-Purchase Checklist
📥 Download PDF ChecklistFAQ
Is DIY home automation difficult?
It can be very simple at the beginning. Difficulty increases mainly when you combine many devices, platforms, and advanced automations.
Can I automate my home without a professional?
Yes. Many smart-home products are designed for self-installation and app-based configuration.
What should I automate first?
Start with something you repeat every day, such as lighting, a bedtime routine, or turning devices off when you leave.
Is DIY home automation expensive?
It doesn’t have to be. Start with a small setup and expand only when you have a reason.
Does DIY home automation work without internet?
Some systems and automations can operate locally, while others depend on cloud services. Always check the specific platform and device.
Final Thoughts
- The best DIY smart home isn't necessarily the one with the most devices.
- It's the one where technology quietly handles useful tasks without making your life more complicated.
- Start with one problem. Solve it. Live with the automation for a while. Then build from there.
That's the approach I'd recommend to anyone starting DIY home automation—and it's the approach I'll keep using here at DomaNuvra.
Smart Living. Better Life.